You have all minimum hardware requirement and you are ready to install PANDORA ZERO. The process can be splitted in two main step. The first step will consist to have a Kali Linux installed and up to date and the second, will consist to run the install script and do basic admin tasks. So, the process isn't difficult but it's long, very long. You will able to complete the installation in many party time
To install PANDORA ZERO, you will need :
➤ The lastest ARM Kali Linux image.We have to write the Kali Linux image in your microSD, plug it in your Pi Zero, plug your Pi Zero in your network, start it and connected it with SSH.
Firstly, download the Kali Linux ARM image from the official website :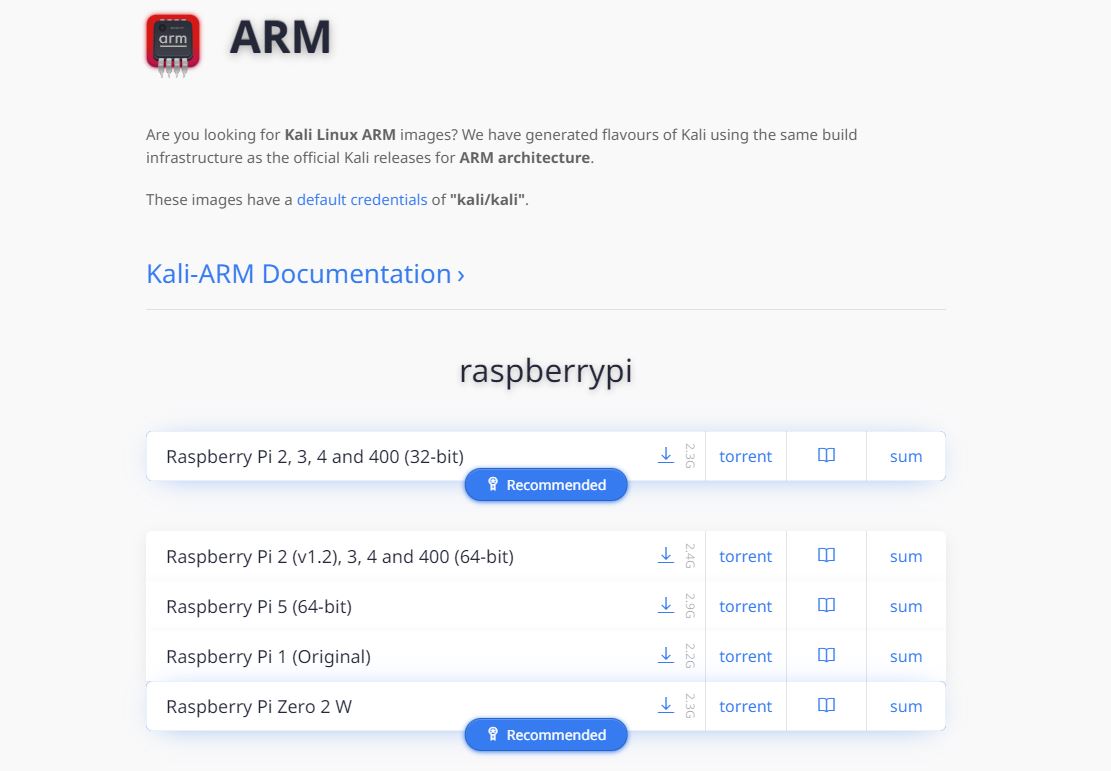
Select the image for "Raspeberry Pi Zero 2 W" and click on the download button to start the download. You downloaded a compressed archive with .xz extentions. Decompress it by using your favorite archive manager
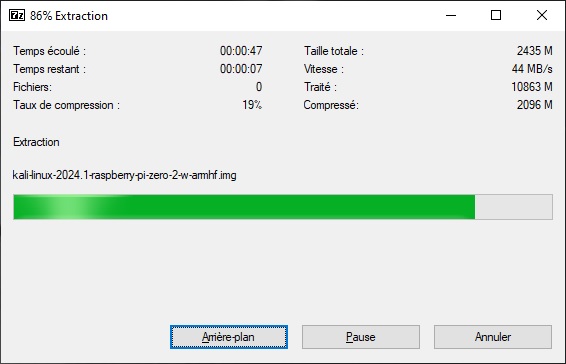
Once decompressed, you will obtain the image with .img extention. After, download win32diskimager or BalenaEtcher.
To dowload win32diskimager, click the link bellow :
Install your prefered software, and you will ready for the next step
Now, it's write time. Insert the microSD directly to the computer if there is a microSD slot or use a microSD/USB adapter. Once inserted, you will see a new storage device as usual.
Launch balena if you installed it...
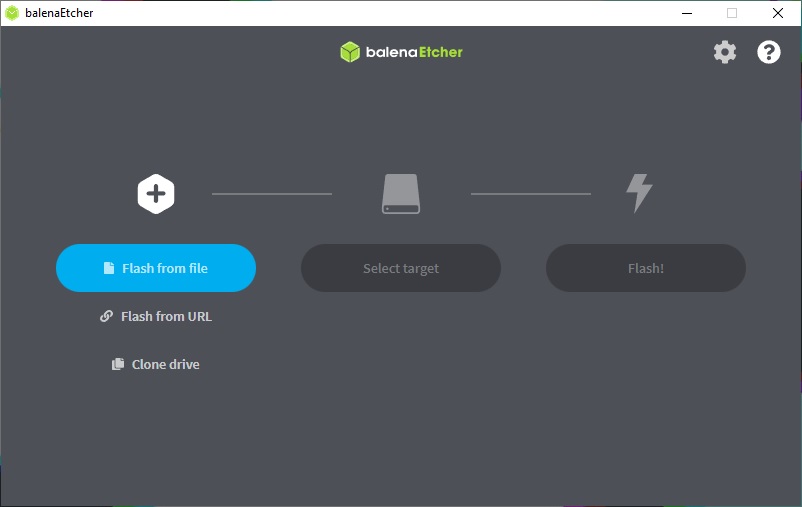
Let on "Flash for file", press the + button and select the Kali image
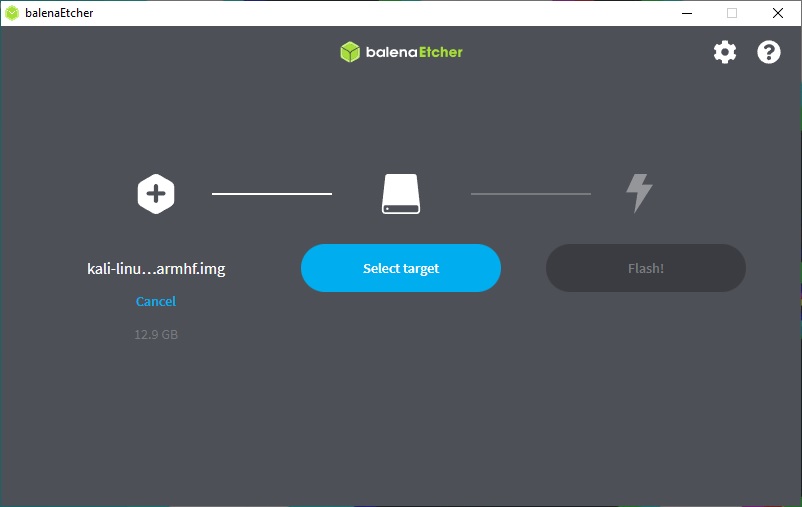
Click on "Select target" ...
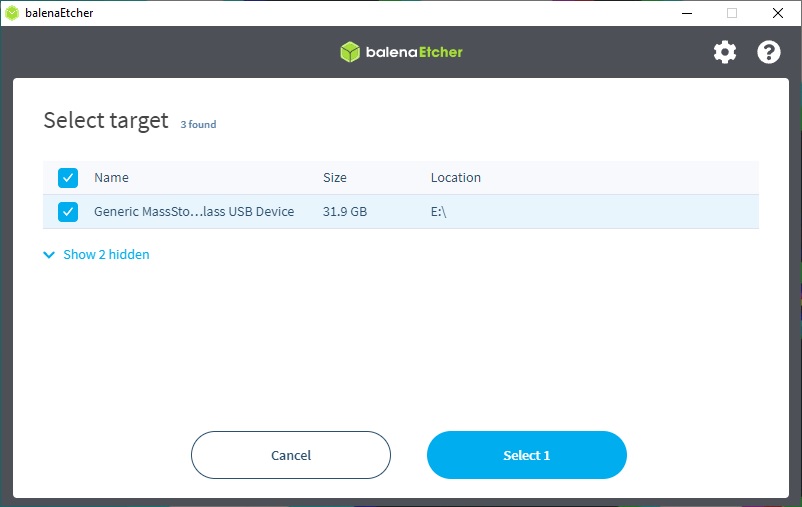
Select your micro SD card and click on the button "Select 1". In the above screenshot, the E:\ drive was attribued to our micro SD but it can be different with your setup.
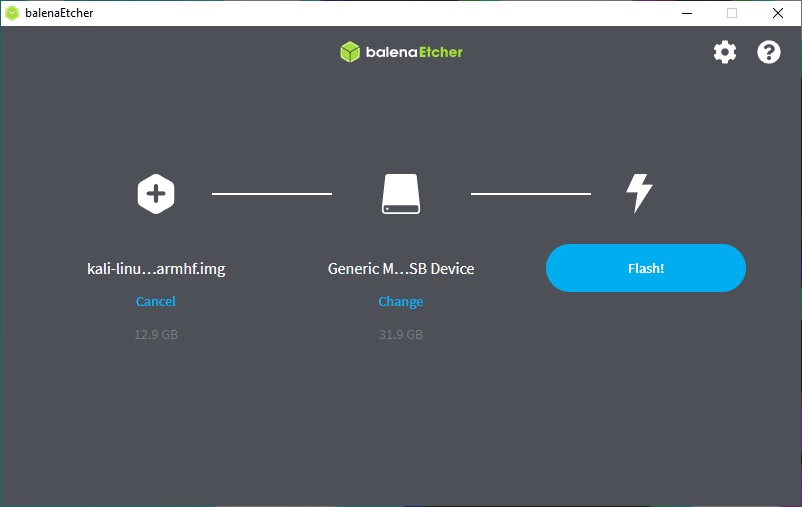
Then click on "Flash" button to start the process
Launch win32diskimager if you installed it...
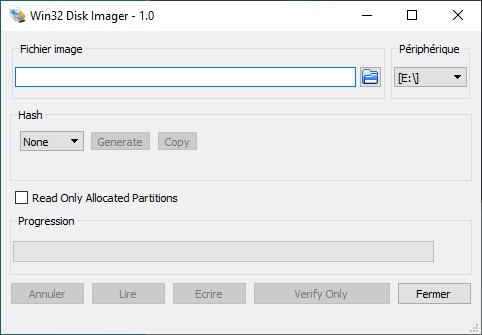
Select your Kali image and check your are in the right drive
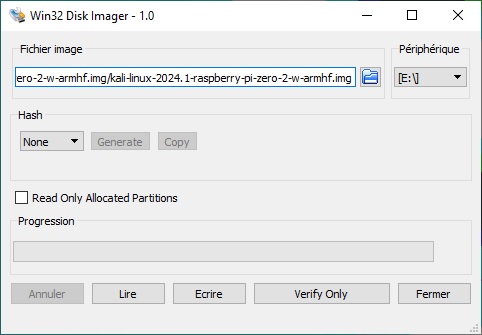
Then click on "Write" button and confirm the action to start the process...
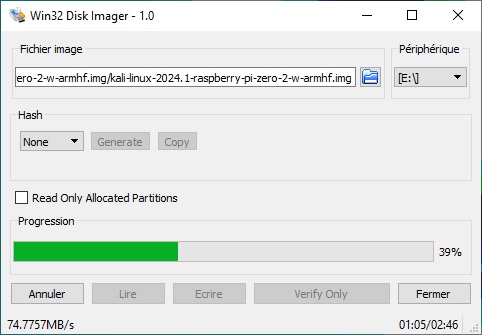
Once finished, you can unmount and unplug your USB adapter or directly unmount your MicroSD. Get your MicroSD card and plug it into your PI0 2W.
Your MicroSD card is well inserted in the slot. Now plug your Pi Zero 2 in your network. You will use the USB Ethernet Adapter as we seen before. Once connected, plus the power cable to fire up your pocket station.
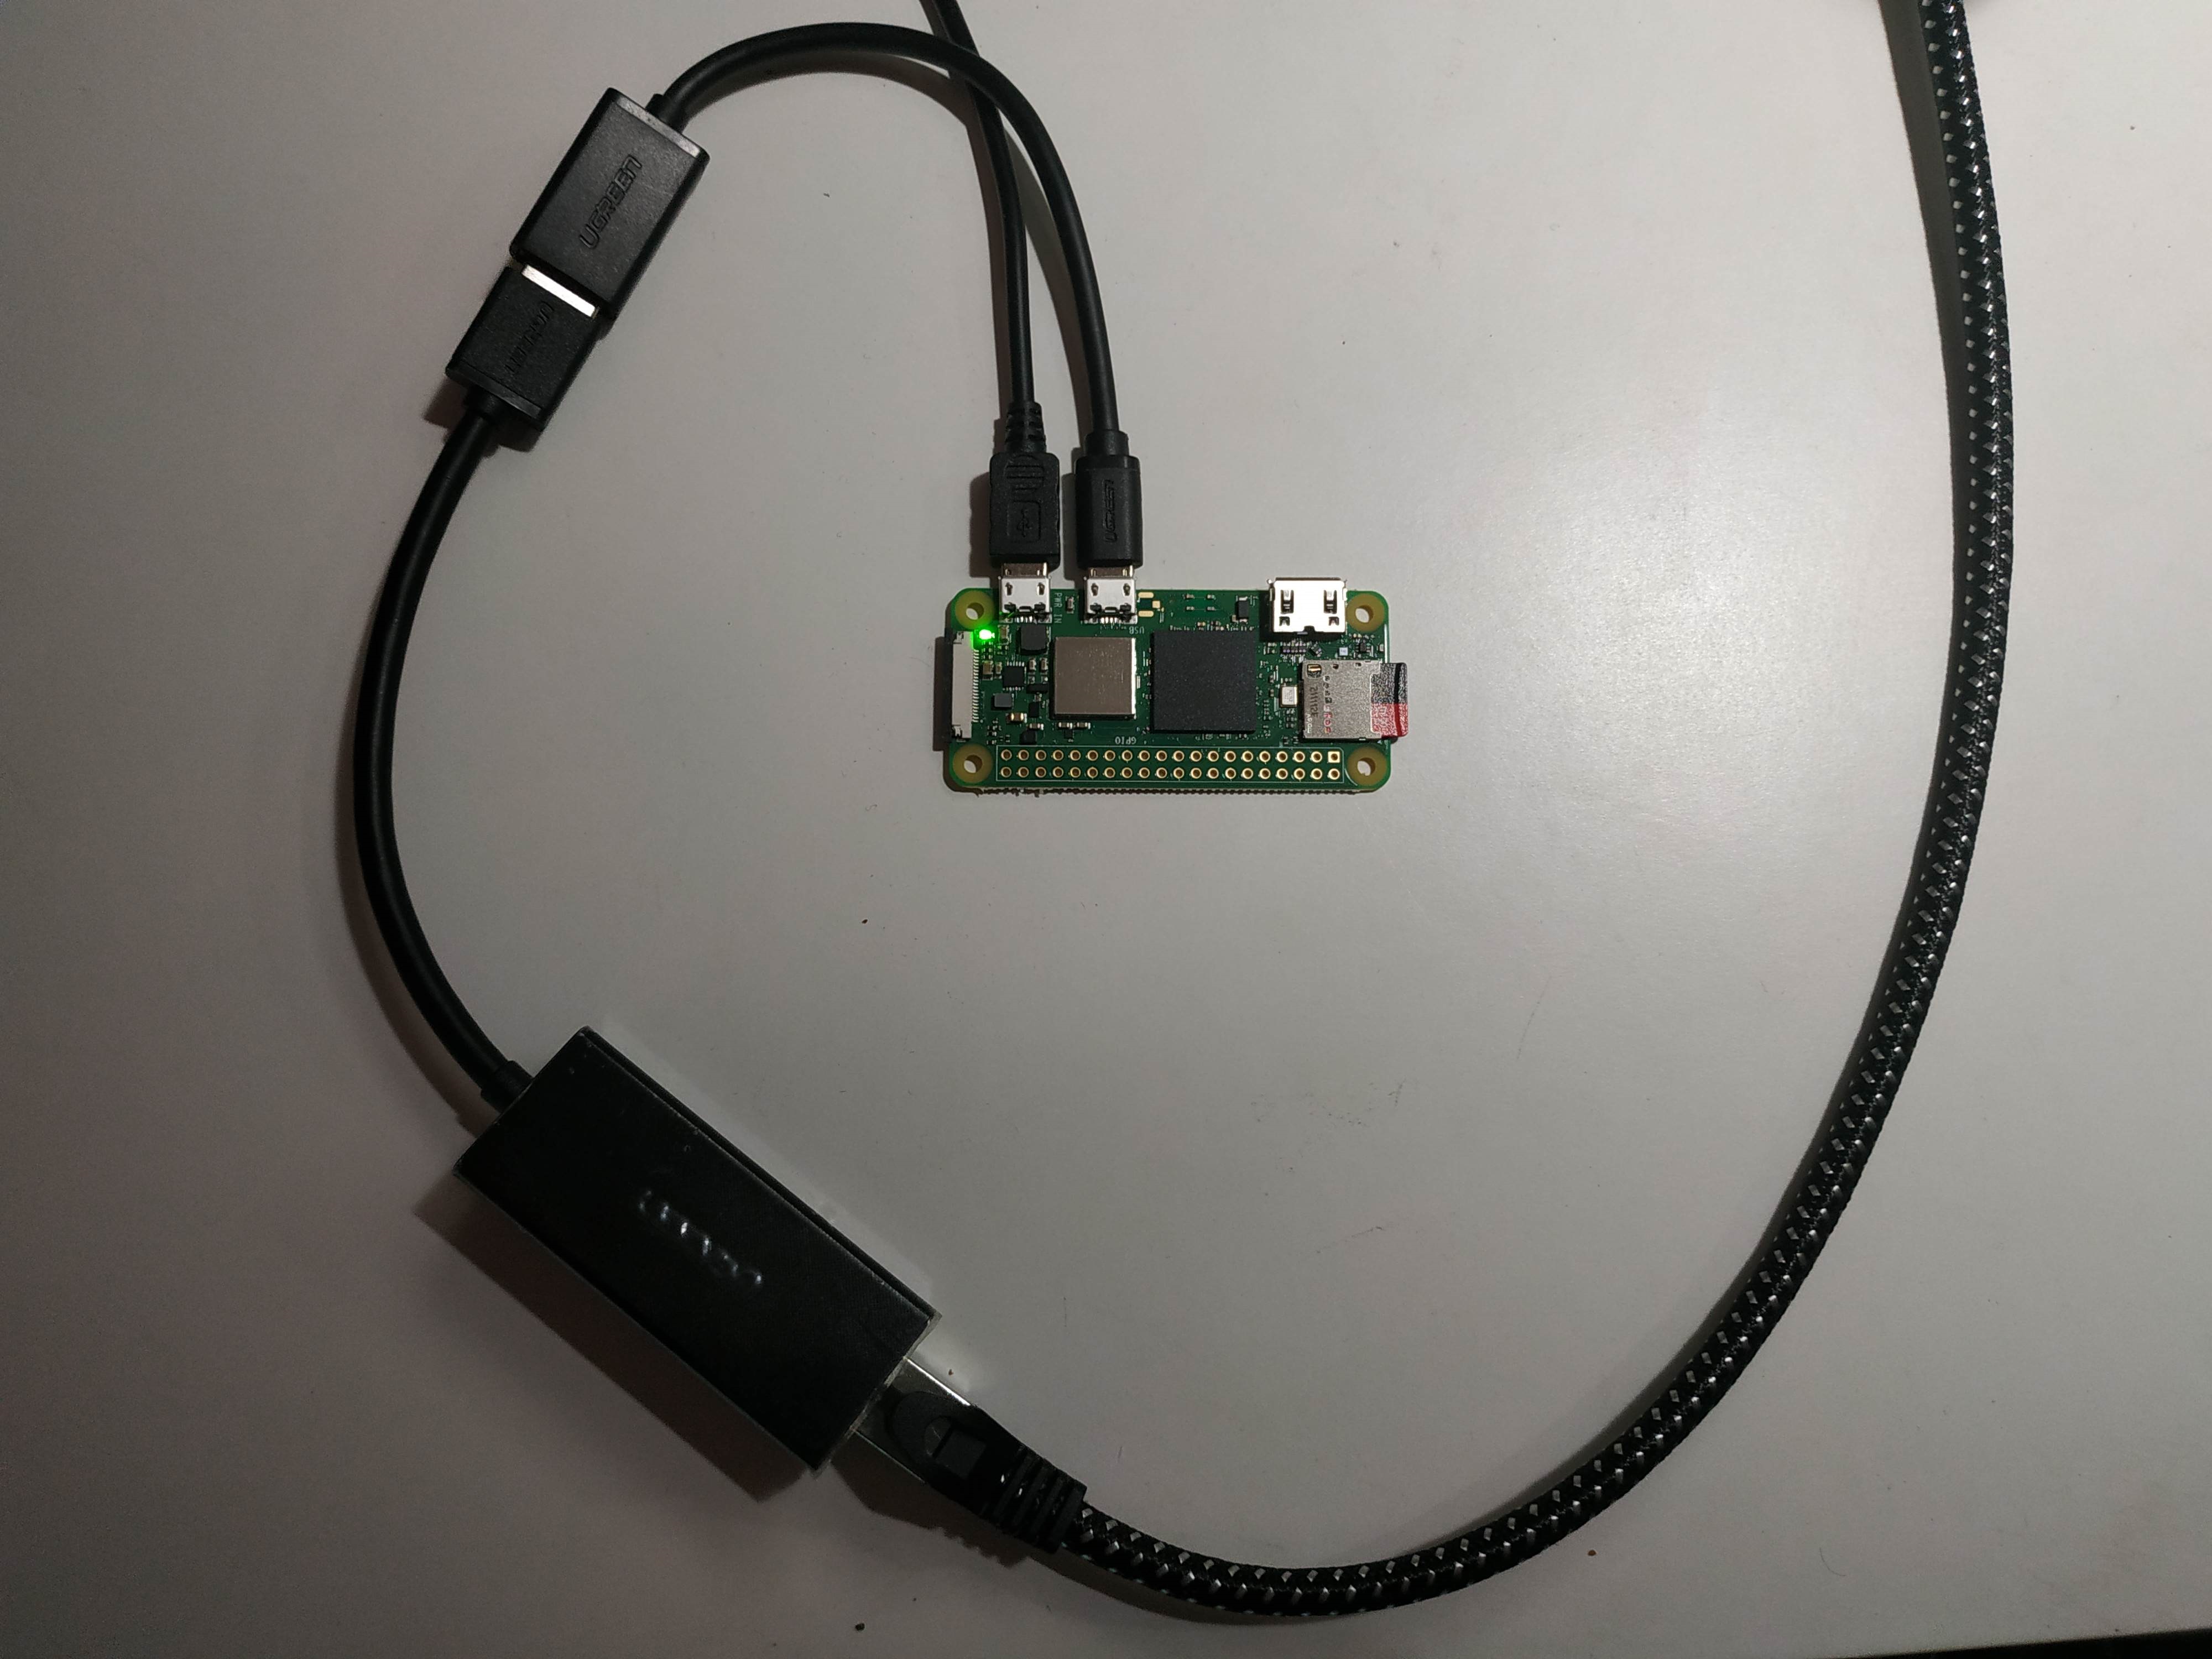
Now, you have to discover the attribued IP by your DHCP server. Connect via the admin panel or SSH to your box/router/VM (depend where is your DHCP server) and retirve the IP. After this, you have all the necessary for the next step.
At the first time, your new Kali can take some minutes to appeart. After, the system will ready in around 40 secondes.
You wiil find the default credential bellow to etablish your first ssh connexion :
Owning all required informations, let's connect
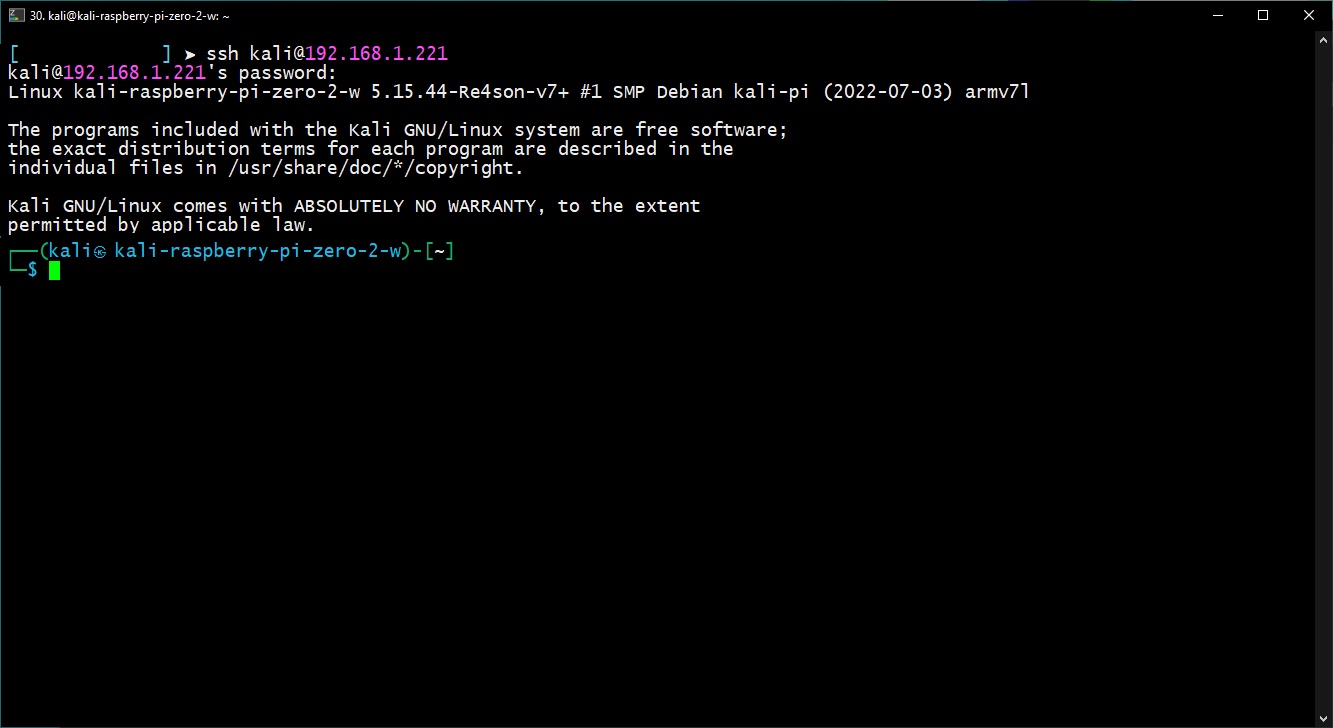
Yeah, we are connected. We do the most difficult part of our installation process.
$ sudo su -
# rm /etc/ssh/ssh_host_*
# dpkg-reconfigure openssh-server
# passwd
Enter new UNIX password:
Retype new UNIX password:
passwd: password updated successfully
# dpkg-reconfigure tzdata
# apt-get update && apt-get -y upgrade
# reboot
After around 40 seconds, the system will back online. A this stage, we reached the half of installation process.
Connect back in our fresh Kali Linux and continue the installation...
$ sudo su -
# wget https://raw.githubusercontent.com/RedSw0rd/PandoraZero/main/pandora-zero-latest-deps.list
# apt-get -y install $(cat pandora-zero-latest-deps.list)
...
Reading state information... Done
build-essential is already the newest version (12.8).
build-essential set to manually installed.
g++ is already the newest version (4:9.2.1-3.1).
g++ set to manually installed.
git is already the newest version (1:2.26.2-1).
unzip is already the newest version (6.0-25).
unzip set to manually installed.
...
...
...
...
# reboot
We will use the auto installer script to deploy PANDORA ZERO. This script will do the following tasks :
➤ Do some bascis checks
➤ Download the lastest PANDORA ZERO archive
➤ Clone some Git projets
➤ Compile some sources code
➤ Copy some configuration file
➤ Setup a Wifi Access Point to administration
➤ Setup IP over Bluetooth to administration
➤ Setup a Apache Server
➤ Modify some system settings
➤ ...
$ sudo su -
# wget https://raw.githubusercontent.com/RedSw0rd/PandoraZero/main/p0-evolution.sh
# chmod +x p0-evolution.sh
# ./p0-evolution.sh


██████╗  █████╗ ███╗   ██╗██████╗  ██████╗ ██████╗  █████╗     ███████╗███████╗██████╗  ██████╗
██╔══██╗██╔══██╗████╗  ██║██╔══██╗██╔═══██╗██╔══██╗██╔══██╗    ╚══███╔╝██╔════╝██╔══██╗██╔═══██╗
██████╔╝███████║██╔██╗ ██║██║  ██║██║   ██║██████╔╝███████║      ███╔╝ █████╗  ██████╔╝██║   ██║
██╔═══╝ ██╔══██║██║╚██╗██║██║  ██║██║   ██║██╔══██╗██╔══██║     ███╔╝  ██╔══╝  ██╔══██╗██║   ██║
██║     ██║  ██║██║ ╚████║██████╔╝╚██████╔╝██║  ██║██║  ██║    ███████╗███████╗██║  ██║╚██████╔╝
╚═╝     ╚═╝  ╚═╝╚═╝  ╚═══╝╚═════╝  ╚═════╝ ╚═╝  ╚═╝╚═╝  ╚═╝    ╚══════╝╚══════╝╚═╝  ╚═╝ ╚═════╝
------------------------------------------------------------------------------------------------
                               E V O L U T I O N    P R O C E S S
------------------------------------------------------------------------------------------------
|>| Checking if we are r00t                                                              [ OK ]
|>| Checking if we are on Raspberry Pi Zero 2 W Rev 1.0                                  [ OK ]
|>| Checking if we are on Kali                                                           [ OK ]
|>| Checking for previous installation                                                   [ OK ]
|>| Downloading deps list                                                                [ OK ]
|+| Checking dependencies
--> cmake                                                                                [ OK ]
--> g++                                                                                  [ OK ]
--> build-essential                                                                      [ OK ]
--> automake                                                                             [ OK ]
. . .
. . .
. . .
--> rtl-sdr                                                                              [ OK ]
--> kalibrate-rtl                                                                        [ OK ]
. . .
. . .
. . .
|>| Cleanning                                                                            [ OK ]
------------------------------------------------------------------------------------------------
                   E V O L U T I O N    P R O C E S S    T E R M I N A T E D
------------------------------------------------------------------------------------------------
| |
|+|  DONE - CODE OVER
|+|  Sending Reboot command

Broadcast message from root@kali-raspberry-pi-zero-w on pts/1 (Sat 2023-04-22 01:18:53 CEST):

The system will reboot now!
The system will reboot once the installation is completed.
Congragulation ! You are near the end ... just a little work again.
With the PANDORA ZERO's addresse IP, you can open your browser using the right url presented after. Just change with your IP.
Note also the TCP port number. PANDORA ZERO listen on TCP port 31415 (This the Pi number, approximately equal to 3.14159)
The default credentials are :
➤ PANDORA ZERO default login : commander
➤ PANDORA ZERO default password : PandoraZer0
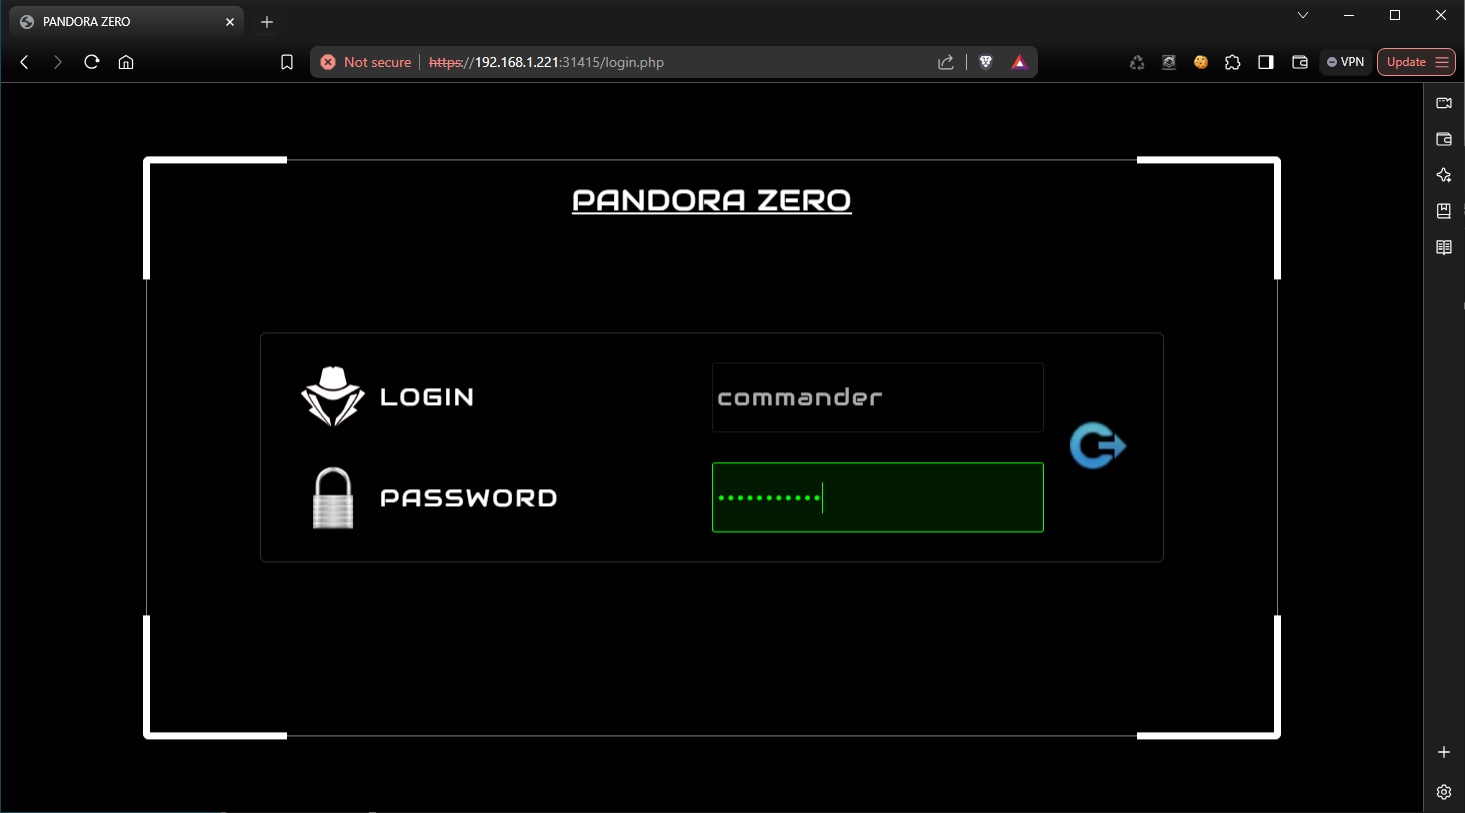
Firstly, change the default credentials.
You can do in Administration section -> PANDORA ZERO -> CREDENTIALS
After, change the WPA password used in your Admin Wifi AP.
Go in Administration section -> PANDORA ZERO -> ADMIN ACCESS -> WIFI CONFIG
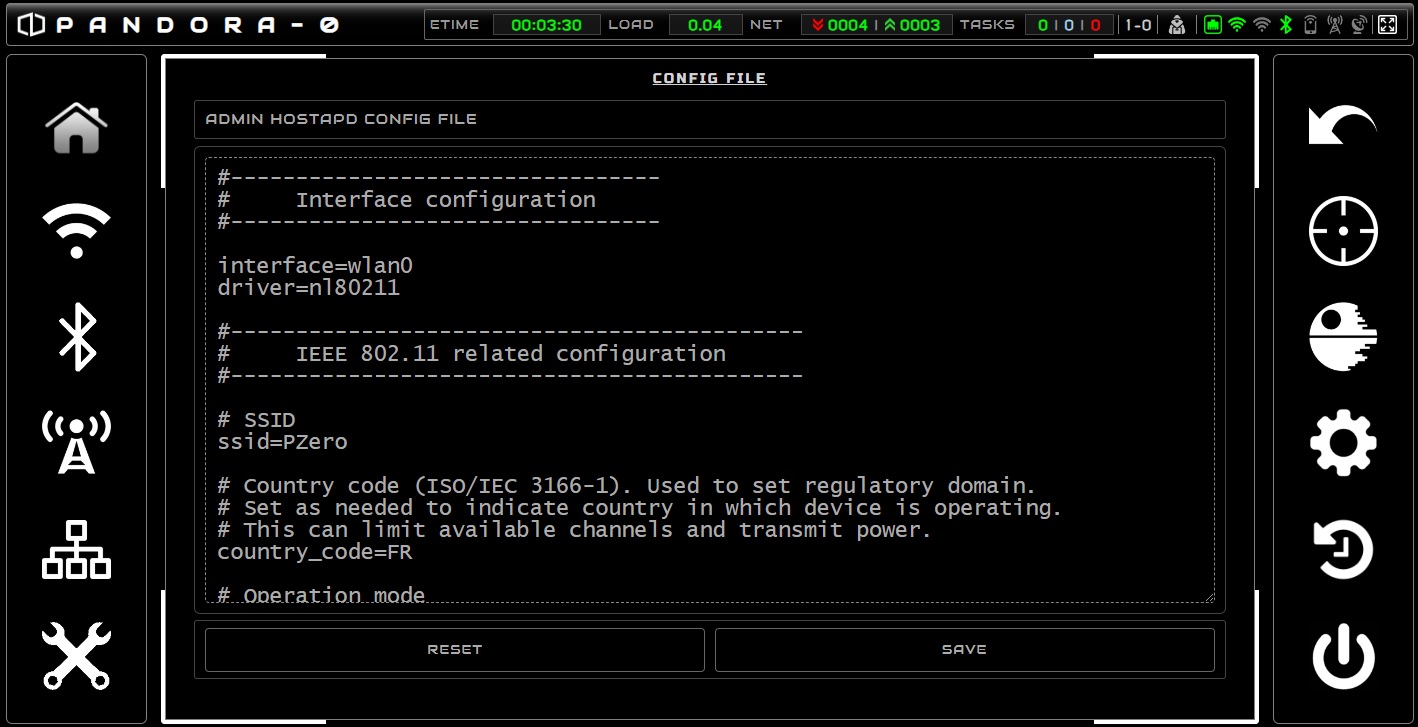
You can also change the SSID. By default, as you see, it's "PZero".
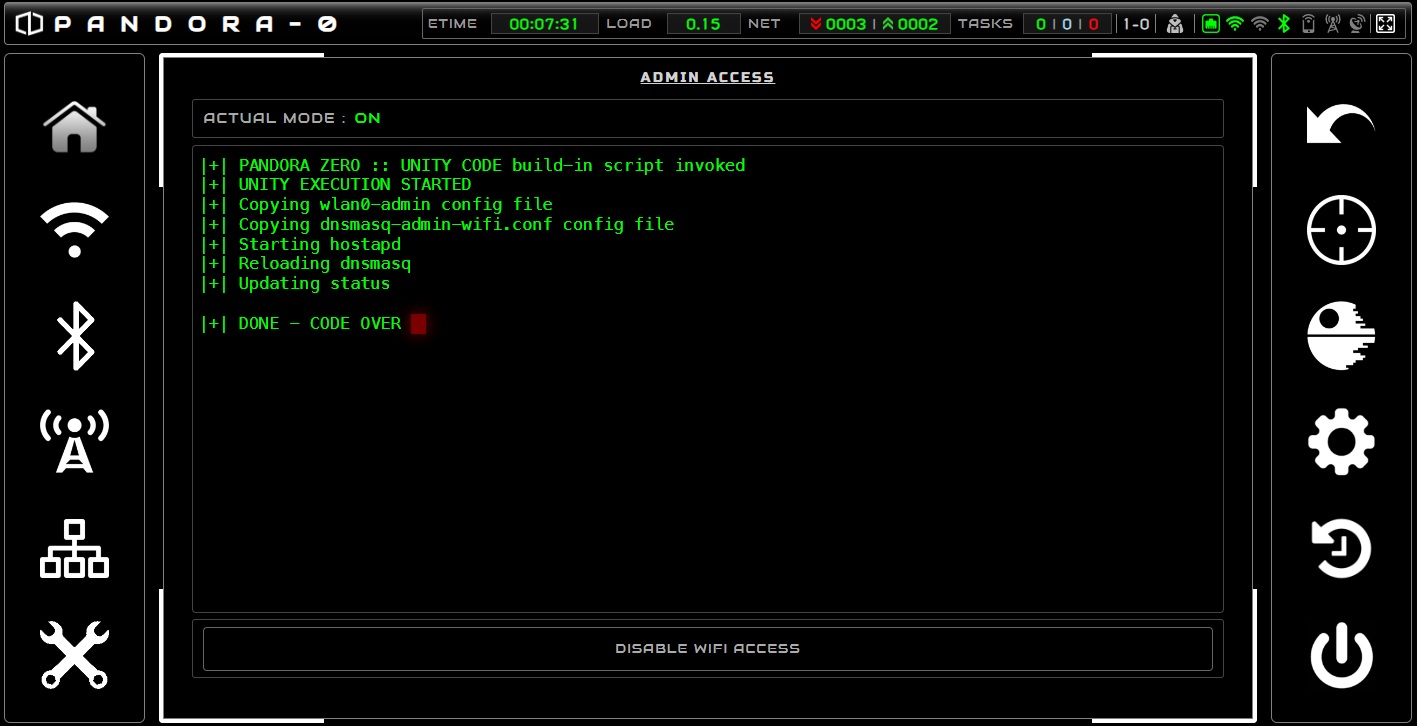
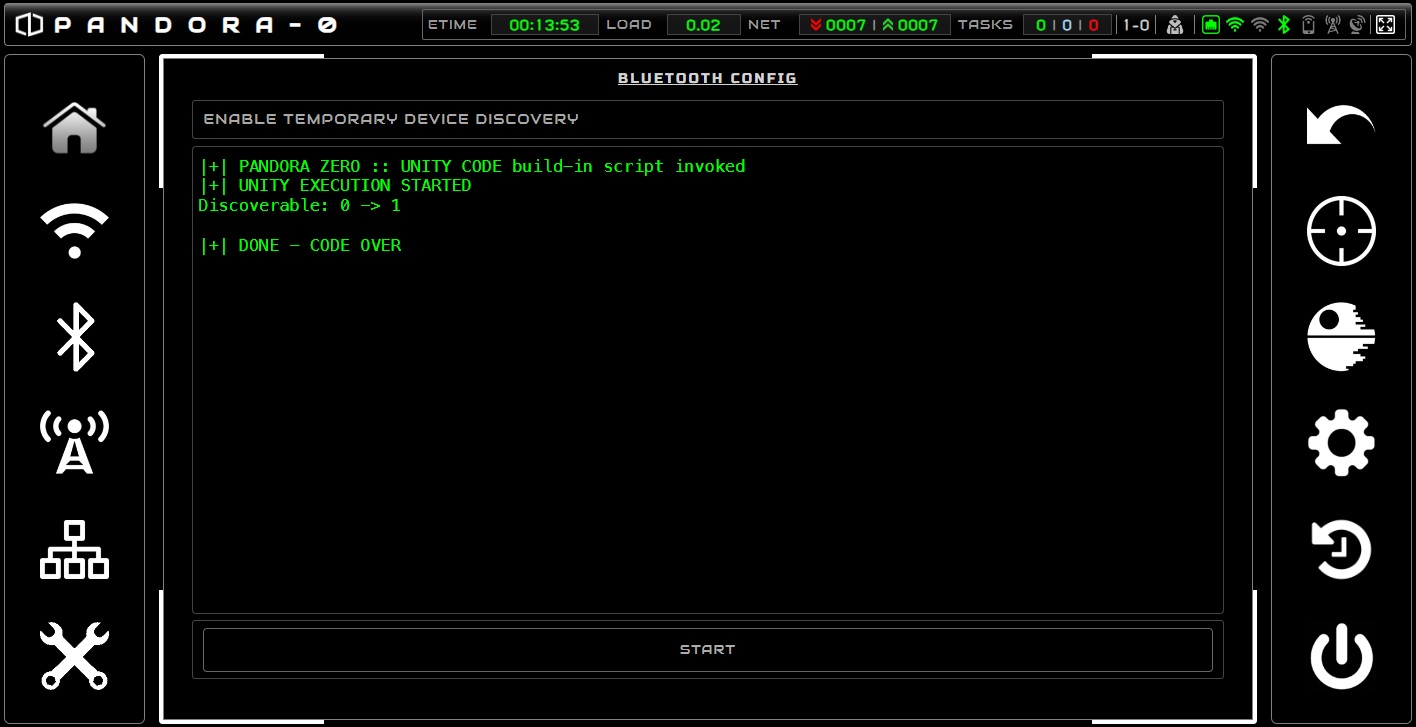
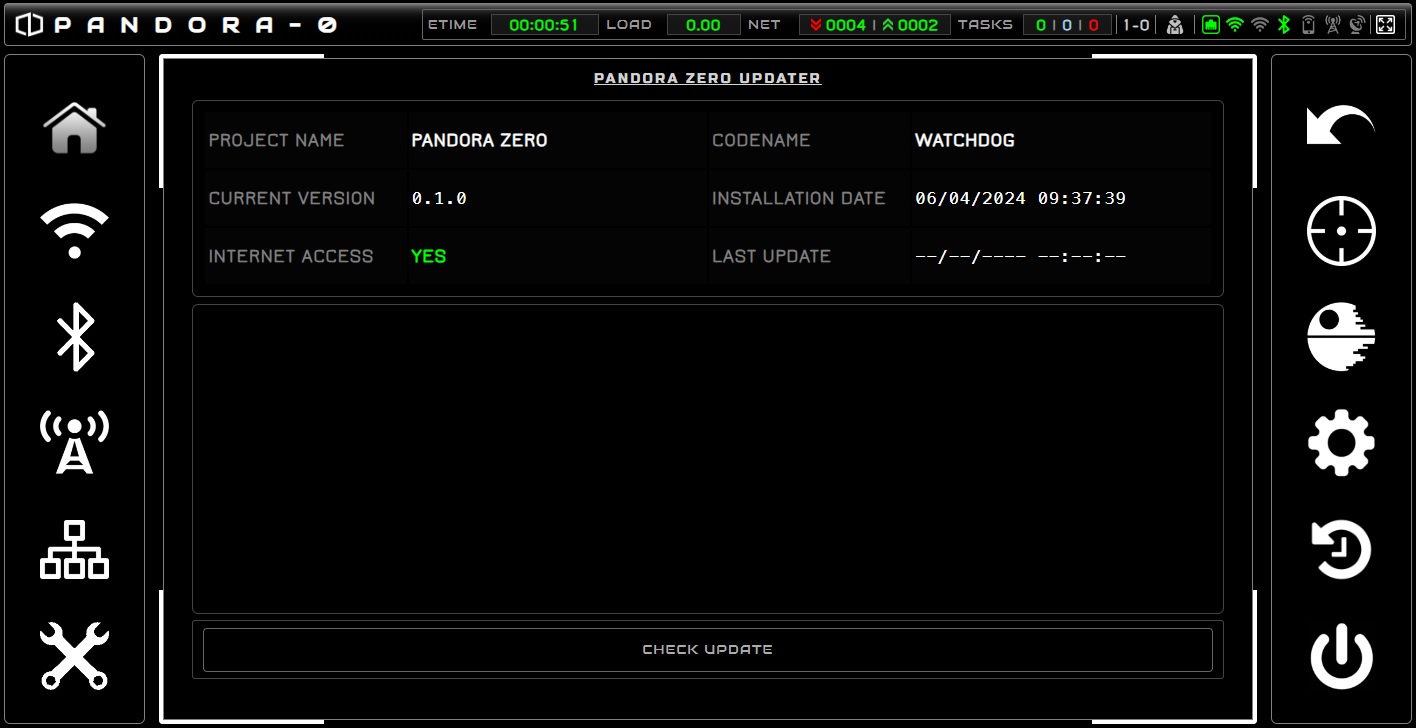
As you seen, the installation is not difficult, it's just long. The most difficulty part is to collect all the required hardware.
Now it's time to have fun with your new pockect hacking station ^^. You can consult the user manul to be speedly familiary with the PANDORA ZERO.
